
Thinking it’s about that time of year again to break out the self-tanner? You’re probably right. Once it’s officially spring it’s certainly time to start working in some warmer weather styles – and that means, showing off a little more skin than our winter gear has allowed. If your skin is looking a little on the pale side after that long, frigid winter, a touch of sunless tanner is just what you need to add natural glow to help ease into sunnier days. Whether you have a big spring event to attend, a last-minute vacation or just want to add a bit of color to your cheeks, there are a few tricks to pay attention to. Thinking you’re ready to get your glow on? Here are some important tips for applying self-tanner.
8 Tips for Properly Applying Self Tanner
1. Exfoliate. Exfoliate. Exfoliate. If you’re going to follow any one of these self-tanner tips, exfoliating is probably the most important. Dry winter skin will do nothing for a smooth look after applying sunless tanner, so rather than ending up on the blotchy side, get your scrub on. Be extra vigilant about any areas that may be super dry – like knees and elbows.
2. Plan ahead. Using a self-tanner that has a gradual glow is key to keeping it natural, especially if you’re looking particularly pale. Use a little bit every day for a week or so until you reach that perfect tone you’re after.
3. Wear gloves. This is crucial unless you want the palms of your hands to be tan too! Once you’ve got the rest of your body covered, you can put a small amount on the backs of your hands so that they get a little glow too.
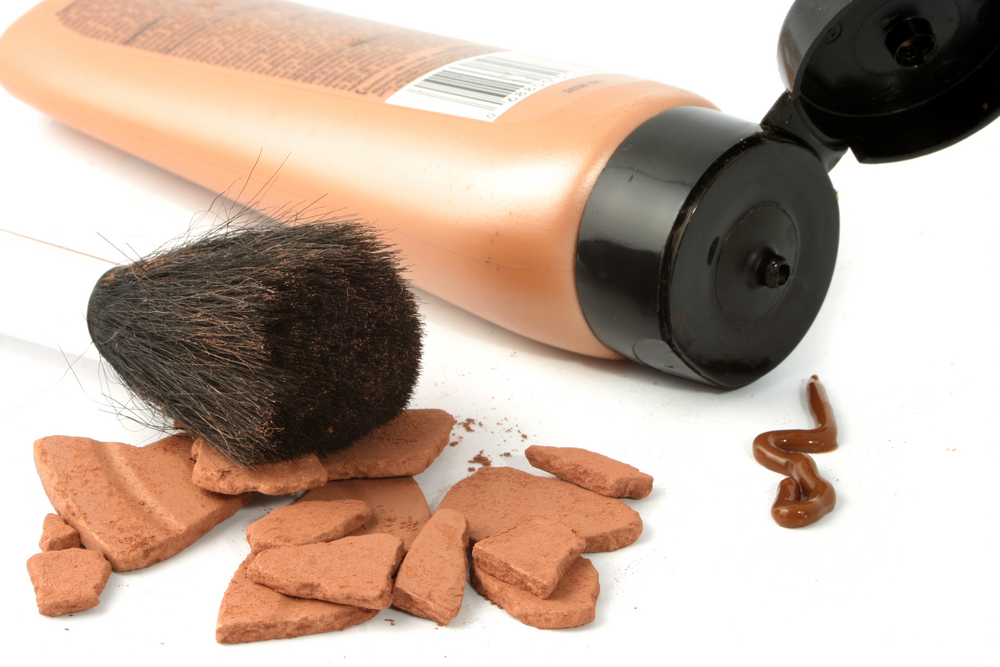
4. Go light with the self-tanner on your face. You really only need about a dime size amount – and remember, dryer areas tend to absorb more color – so, be extra careful around eyes and lips.
5. Try to spread the self-tanner evenly across your whole body. Use circular strokes and be careful of dry spots (like knees and elbows). Think about diluting the self-tanner with moisturizer for those rougher spots.
6. Get all your salon treatments done before you self-tan. From waxing to mani-pedis, applying self-tanner should be the last step in your process. Same goes for shaving! This will help preserve your glow for as long as possible.
7. If you shower before applying the product, be sure you’re 100% dry. Wet spots can cause streaks and splotches.
8. Be patient. Unless you’re using an instant bronzer, most self-tanner takes a little while to work. Don’t be tempted to re-apply. Follow the directions on the package and you should see optimal results.
If, once your color has set, you’d still like to adjust it and remove a bit of the excess hue, pick up a Bronze Buffer, a reusable sponge specifically designed to lighten up self-tanner if it’s too dark, clean stained palms, and eliminate streaks. Tip: you can also use it to remove deodorant stains off clothes when used dry.
Have you ever experimented with self-tanner?